

Payable Forms
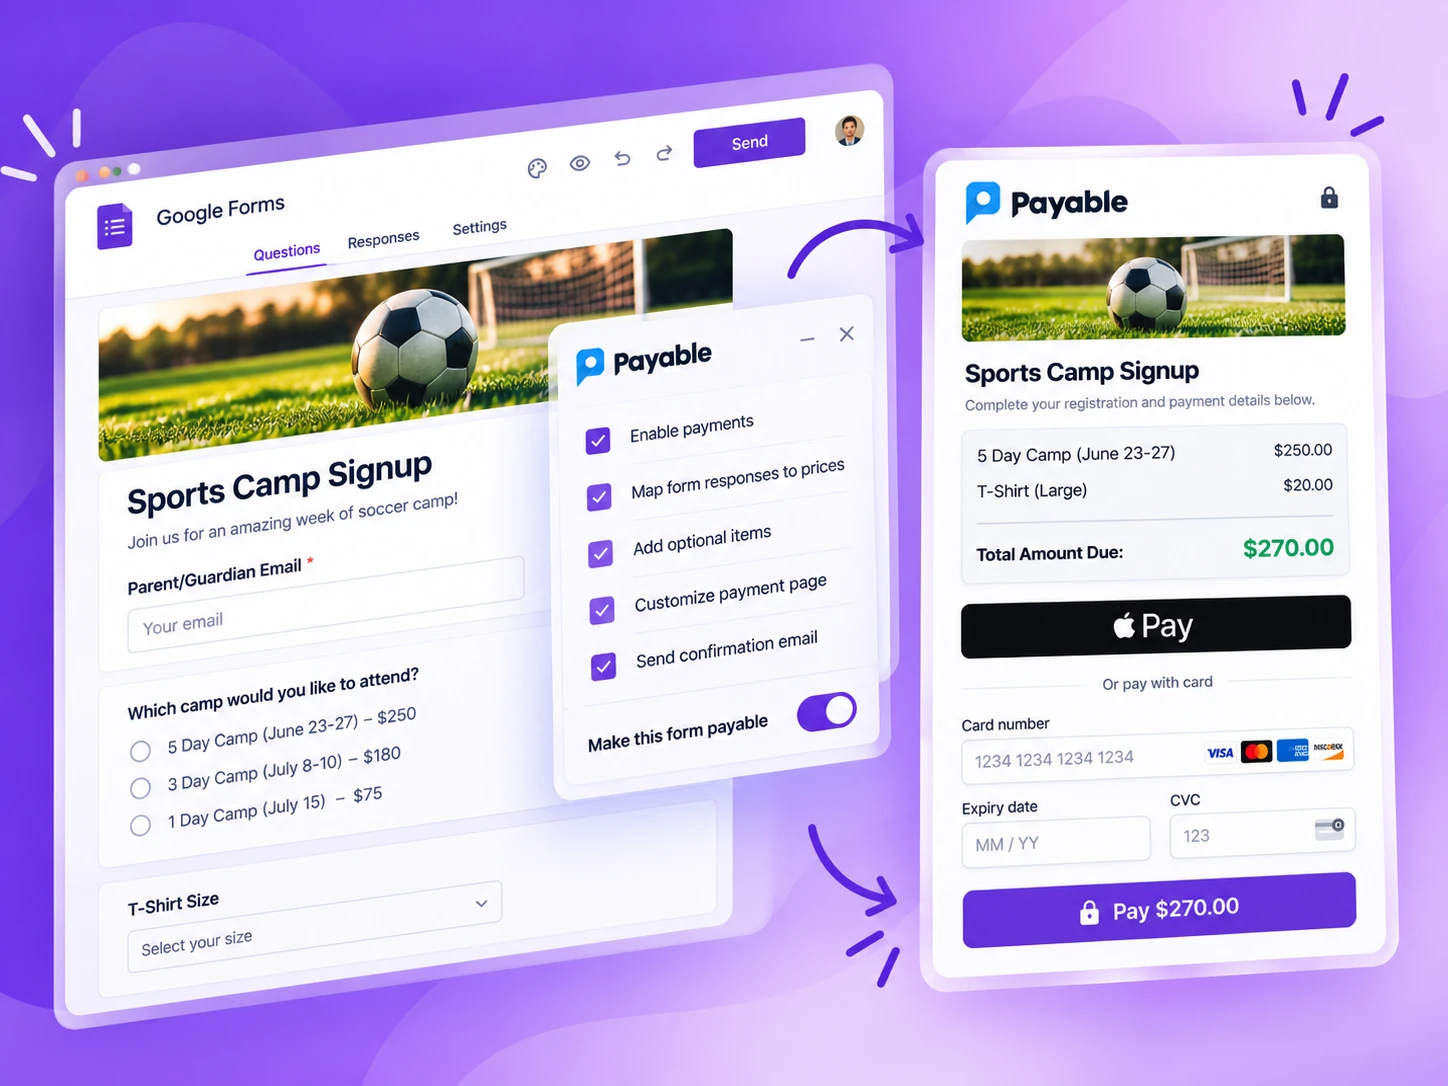
Let your Google Forms accept payment like magic.
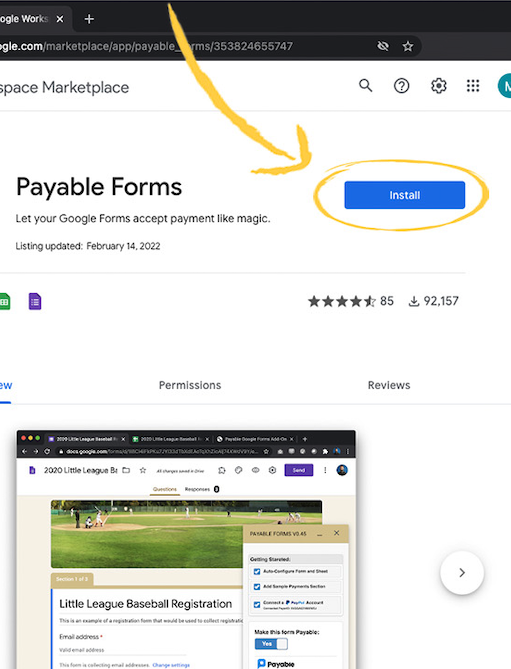
 Install Payable Forms from theGoogle Workspace Marketplace
Get started free
Sign in with the Google account you'll use for payments, then install Payable Forms or Payable Sheets.
Before we start
Your Google account name and email address will be visible to the people who pay you.
If you'll be accepting payments for a business, team or club, you may want to create a new Google account for it instead of using a personal email.
When setting up Google Workspace add-ons, it's important to be signed in to only one Google account in your browser at a time. If you switch between personal and work accounts, use Chrome profiles instead of one browser window — it will make your life much easier.
The payment provider processes payments and settles the money to your bank account. Most take about 5 minutes to set up if you don't have one yet. You'll connect it while setting up the add-on.
Google Workspace add-ons
Our Google-approved add-ons give your favourite Google products new payment-accepting super powers.
Let your Google Forms accept payment like magic.
Install Payable Forms from theGoogle Workspace Marketplace
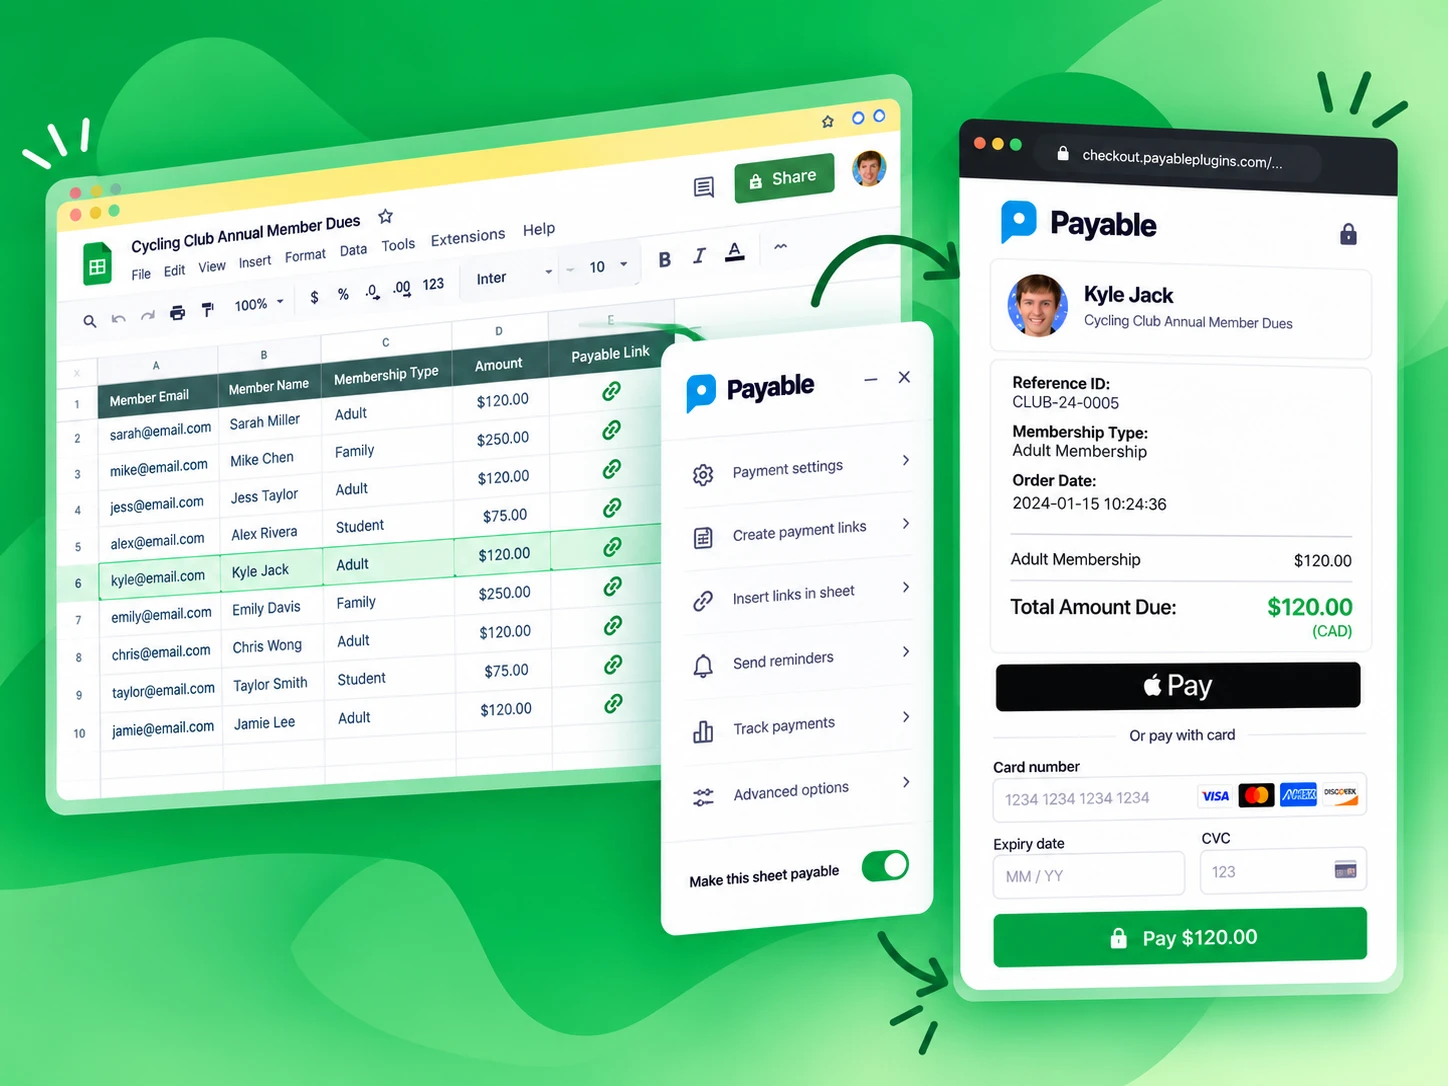
Send bulk payment requests with PayPal in a snap.
Install Payable Sheets from theGoogle Workspace Marketplace
After installing
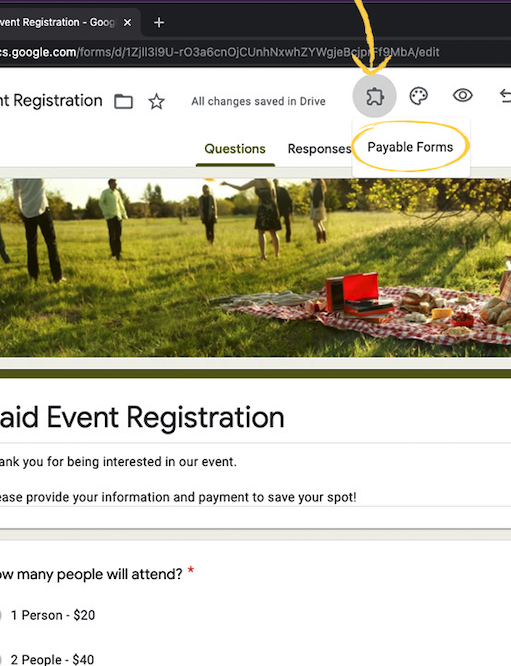
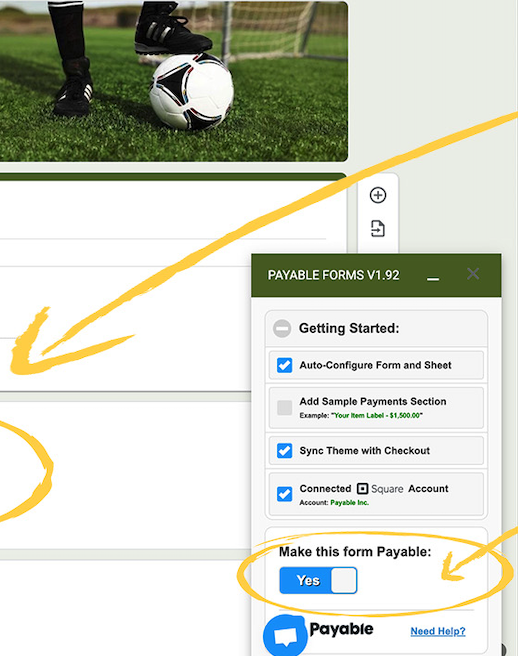
Watch the video
Many users find following along with our step-by-step detailed videos are the best way to learn how to get up and running. We have dozens of videos designed to walk you through getting started and some more advanced features.